Multiple Spring Boot Container Using Docker Compose
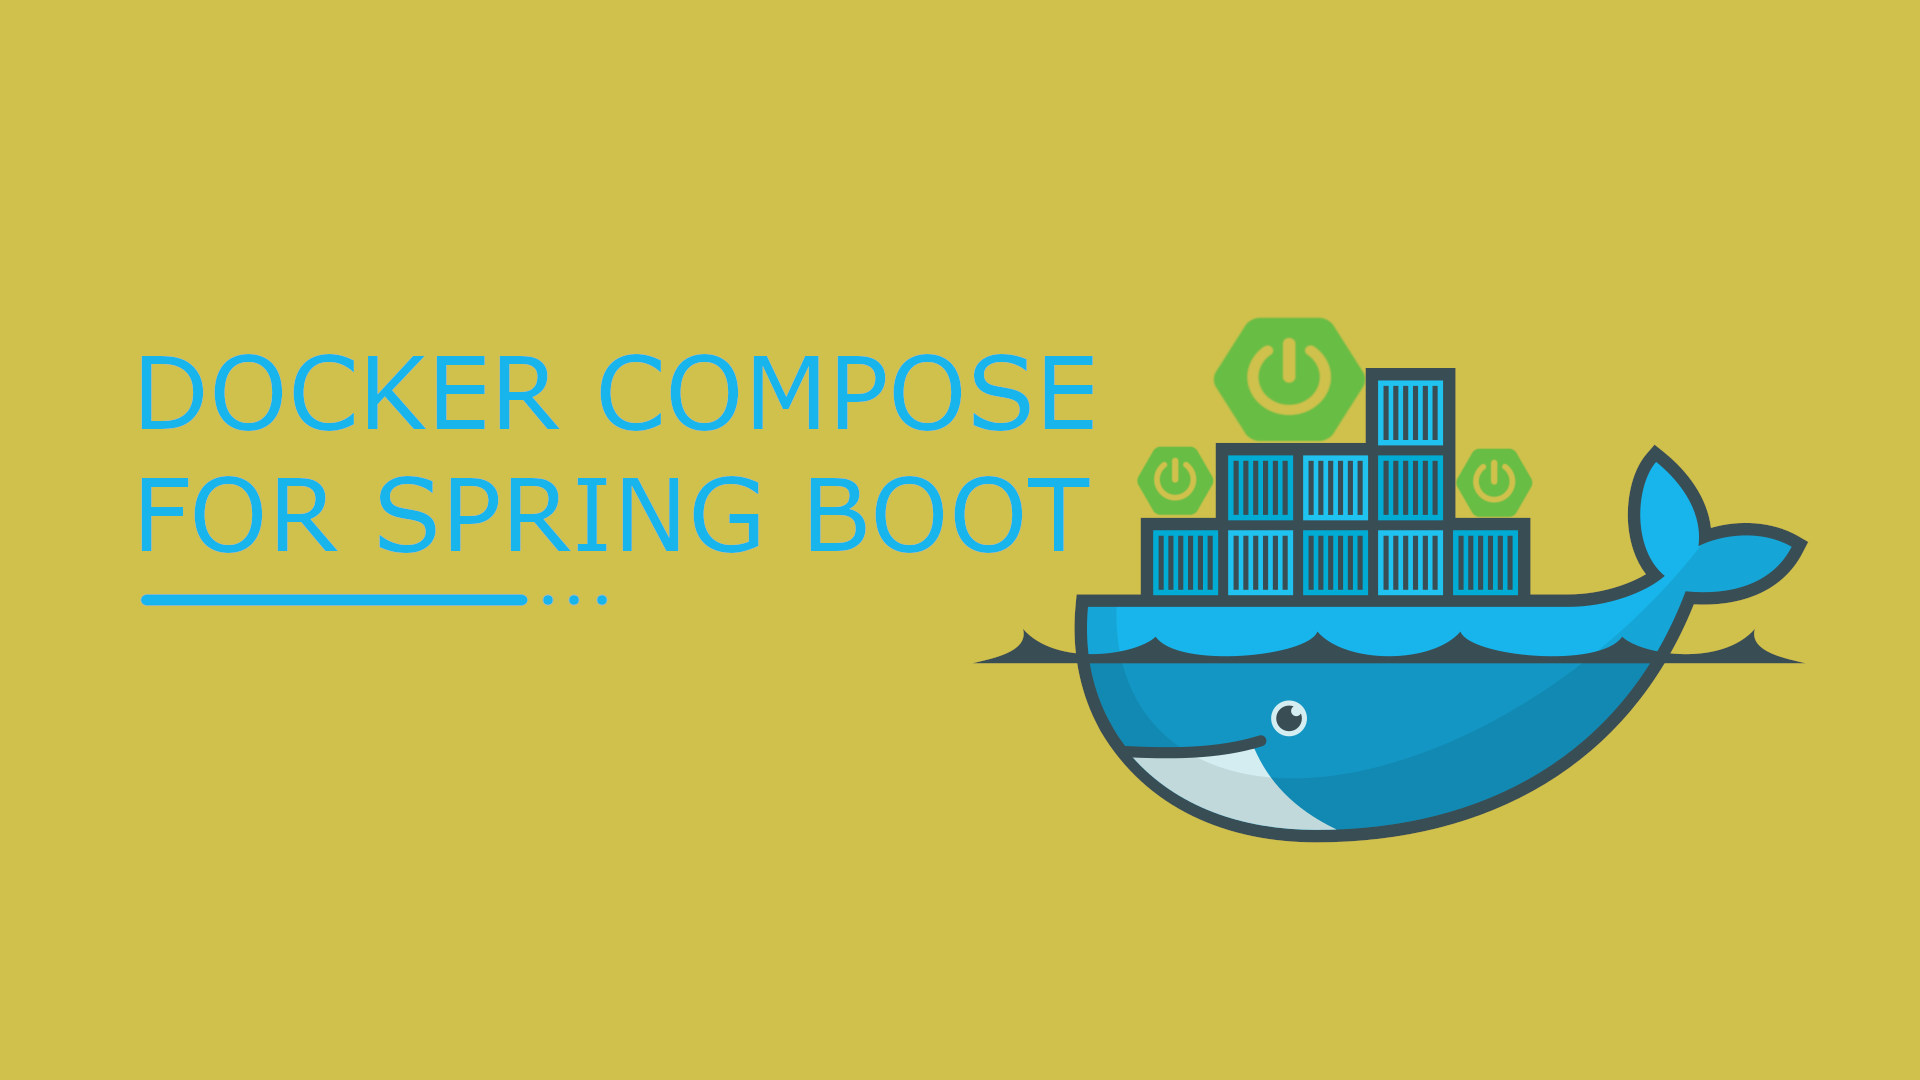
Table of Content
- Introduction
- Pre-requisite
- Architecture
- Configuring Docker
- Using Docker Compose to Automate Deployment
- Running the application
- Testing the Application
Introduction
In this post, you’ll learn how to deploy multiple Spring Boot Docker containers and setup networking between them using Docker Compose.
Pre-requisite
- Java 1.8 or above
- IntelliJ or Eclipse IDE
- Docker
- Docker Compose
Architecture
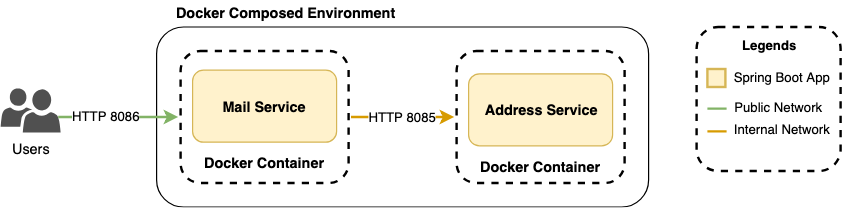
In order to better explain the concept of docker compose, I have chosen above example of a Mailing Service. It is a pretty simple micro service based architecture. There are only two micro services involved and both have their own Docker containers. However, in order for the Mailing Service to work it requires Receiver’s Address from the Address Service. Therefore we can say that Mailing Service has a dependency on Address Service.
Note: It is important to note that the services involved in this example are mocked services and are not connected to any third-party mail vendors or database. Everything is stored in-memory to keep things simple, as this post is about docker-compose and not on building a mailing service.
Happy Path Flow
User sends request to mail service with their message and receiver’s details
Request
HTTP POST -> http://localhost:8086/mail-service/{receiver-id}/mailsResposne Body
{
    "from": "sender",
    "timestamp": "2019-02-18T13:29:14.449",
    "message": "Hello World"
}
Mail service looks up address service to obtain receiver’s address.
Request
HTTP GET -> http://localhost:8085/address-service/{receiver-id}/addressResponse Body
{
    "addressLine1": "3434 Anderson Avenue",
    "addressLine2": "Apt# 420",
    "city": "San Jose",
    "state": "California",
    "zipCode": "92130",
    "country": "United States"
}
Mail service sends mail to receiver’s address.
Response Body
{
    "from": "sender",
    "timestamp": "2019-02-18T13:29:14.449",
    "message": "Hello Docker",
    "address": {
      "addressLine1": "3434 Anderson Avenue",
      "addressLine2": "Apt# 420",
      "city": "San Jose",
      "state": "California",
      "zipCode": "92130",
      "country": "United States"
    }
}
Configuring Docker
Address Service
In this section you will create Dockerfile for address service. This configuration will be later used to create Docker Image for address service. Create a new file under the root directory of your Spring Boot application with content as shown below.
# Start with a base image containing Java runtime
FROM openjdk:8-jdk-alpine

# Add Maintainer Info
LABEL maintainer="sanchi.goyal.sg@gmail.com"

# Add a volume pointing to /tmp
VOLUME /tmp

# Make port 8085 available to the world outside this container
EXPOSE 8085

# The application's jar file
ARG JAR_FILE=./build/libs/address-service-0.0.1-SNAPSHOT.jar

# Add the application's jar to the container
ADD ${JAR_FILE} address-service.jar

# Run the jar file
ENTRYPOINT ["java","-Djava.security.egd=file:/dev/./urandom","-jar","/address-service.jar"]
Above Dockerfile uses openjdk:8-jdk-alpine as a base image. One thing to keep in mind is the location of your executable. This post, uses Gradle to build Spring Boot application and by default executables are generated under ./build/libs/{service-name}-0.0.1-SNAPSHOT.jar. If your are using any other build tools, please make sure to update the path accordingly in the Dockerfile.
Mail Service
Similar to address service, mail service Dockerfile will be as shown below.
# Start with a base image containing Java runtime
FROM openjdk:8-jdk-alpine

# Add Maintainer Info
LABEL maintainer="sanchi.goyal.sg@gmail.com"

# Add a volume pointing to /tmp
VOLUME /tmp

# Make port 8086 available to the world outside this container
EXPOSE 8086

# The application's jar file
ARG JAR_FILE=./build/libs/mail-service-0.0.1-SNAPSHOT.jar

# Add the application's jar to the container
ADD ${JAR_FILE} mail-service.jar

# Run the jar file
ENTRYPOINT ["java","-Djava.security.egd=file:/dev/./urandom","-jar","/mail-service.jar"]
Using Docker Compose to Automate Deployment
Now, let’s get to the most important part of this post i.e. to configure Docker Compose to start both Spring Boot Container and setup communications between them.
Below is how your docker-compose.yml should look like.
version: "3"

services:
  address-service:
    build:
      context: ../address-service
      dockerfile: ./Dockerfile
    ports:
    - 8085:8085

  mail-service:
    build:
      context: ../mail-service
      dockerfile: ./Dockerfile
    ports:
    - 8086:8086
    environment:
    - ADDRESS_SERVICE_BASE_PATH=http://address-service:8085/address-service
    depends_on:
- address-service- Configure address-service container by providing the location of it’s Dockerfile and exposing port
8085as8085 - Configure mail-service container by providing the location of it’s Dockerfile and exposing port
8086as8086 - Set address-service as a dependency for mail-service. This will ensure mail-service container to start after address-service container has started.
- Add environment variable
ADDRESS_SERVICE_BASE_PATHto provide mail-service with the access point for address-service. This is a custom propertyaddress.service.base-pathadded to mail-service’s application.properties . However, since the applications are running in different Docker containers, the IP addresses will be different and using localhost will not work. Hence, it is required to add this environment variable to overrides the value in application.properties and provide the dynamic IP address configured by Docker container.
Running the application
Building Artifacts
Address Service
$ cd mail-service/
$ ./gradlew clean build
> Task :test
2019-03-02 13:19:36.079  INFO 10352 --- [       Thread-5] o.s.s.concurrent.ThreadPoolTaskExecutor  : Shutting down ExecutorService 'applicationTaskExecutor'

BUILD SUCCESSFUL in 5s
6 actionable tasks: 5 executed, 1 up-to-dateTips: In real world setup, this step should be done as part of your build pipeline using a CI/CD pipeline management system like Jenkins or TeamCity and the artifact should be uploaded to your artifact repository.
Mail Service
$ cd address-service/
$ ./gradlew clean build
> Task :test
2019-03-02 13:21:37.651  INFO 10370 --- [       Thread-5] o.s.s.concurrent.ThreadPoolTaskExecutor  : Shutting down ExecutorService 'applicationTaskExecutor'

BUILD SUCCESSFUL in 3s
6 actionable tasks: 5 executed, 1 up-to-date
Starting Containers
This is the most easiest step in this post. Simply run the below command in the directory that holds your docker-compose.yml to start both containers.
$ cd docker/
$ docker-compose up
You can verify that the Docker images were created by using below command.
$ docker image ls
REPOSITORY               TAG                 IMAGE ID            CREATED             SIZE
docker_mail-service      latest              6c3fb578d1e9        14 hours ago        119MB
docker_address-service   latest              6598037fcb49        14 hours ago        119MB
You can verify that the Docker containers were created by using below command.
$ docker container ls
CONTAINER ID        IMAGE                    COMMAND                  CREATED             STATUS              PORTS                    NAMES
ab516a20dfc0        docker_mail-service      "java -Djava.securit…"   14 hours ago        Up 14 hours         0.0.0.0:8086->8086/tcp   docker_mail-service_1
b19c93d8ef50        docker_address-service   "java -Djava.securit…"   14 hours ago        Up 14 hours         0.0.0.0:8085->8085/tcp   docker_address-service_1
Testing the Application
Now let’s get to the part where you can validate the above setup. This post uses Postman as a HTTP client to test the application. However, you can decide to use any other client that you are comfortable with. Also you can find Postman’s JSON file in the same Github repository under the path /postman.
Request to Send a Mail
Request
HTTP POST -> http://localhost:8086/mail-service/{receiver-id}/mailsRequest Body
{
	"from": "sender",
	"timestamp": "2019-02-18T13:29:14.449",
	"message": "Hello World"
}
Response Status Code: 201 CREATED
Verify Sent Mails
Request
HTTP GET -> http://localhost:8086/mail-service/1/mailsResponse Body
[
    {
        "from": "sender",
        "timestamp": "2019-02-18T13:29:14.449",
        "message": "Hello Docker",
        "address": {
            "addressLine1": "3434 Anderson Avenue",
            "addressLine2": "Apt# 420",
            "city": "San Jose",
            "state": "California",
            "zipCode": "92130",
            "country": "United States"
        }
    }
]
Source Code on Github